Profile
Portfolio
Slideshow
Bio
Contact
Website
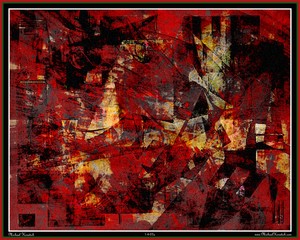
2-4-07c
Added: 05 Feb 2007
2-4-07b
2-2-07b
2-2-07a
1-31-07a
Added: 01 Feb 2007
1-30-07c
Added: 31 Jan 2007
1-30-07a
Added: 30 Jan 2007
1-27-07a
Added: 29 Jan 2007
1-24-07a
Added: 25 Jan 2007
1-23-07b
Added: 24 Jan 2007
1-23-07a
1-21-07b
Added: 23 Jan 2007
1-22-07a
1-21-07a
Added: 21 Jan 2007
1-19-07a
Added: 20 Jan 2007
1-16-07a
Added: 17 Jan 2007
1-15-07a
Added: 16 Jan 2007
1-14-07b
1-14-07a
Added: 15 Jan 2007
1-13-07c
Added: 14 Jan 2007
1-11-07b
Added: 12 Jan 2007
1-11-07a
Added: 11 Jan 2007
1-8-07a
Added: 09 Jan 2007
1-7-07a
Added: 08 Jan 2007
1-5-07a
Added: 07 Jan 2007
1-4-07b
Added: 05 Jan 2007
1-4-07a
Added: 04 Jan 2007
1-2-07a
Added: 03 Jan 2007
12-31-06a
Added: 02 Jan 2007
12-29-06a
Added: 31 Dec 2006
12-27-06d
Added: 30 Dec 2006
12-27-06c
Added: 29 Dec 2006
12-27-06b
12-27-06a
Added: 28 Dec 2006
12-26-06
12-21-06b
Added: 21 Dec 2006
12-21-06a
12-17-06c
Added: 18 Dec 2006
12-17-06b
12-14-06b
Added: 15 Dec 2006
12-13-06b
Added: 14 Dec 2006
12-13-06a
12-12-06b
Added: 13 Dec 2006
12-6-06c
Added: 07 Dec 2006
12-6-06b
12-5-06c
Added: 05 Dec 2006
12-5-06b
12-5-06a
11-19-06b
Added: 02 Dec 2006
12-1-06b