Image Not Found:
We are unable to locate the image you requested. Please browse/search our site below for the artwork you are interested in viewing.
Featured Areas
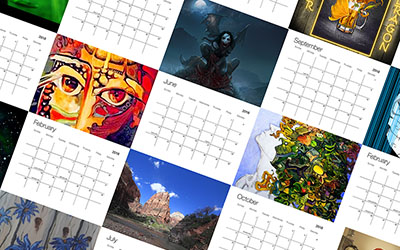
2026 Wall Calendars - NEW!
Enjoy beautiful artwork and photos all year round with our selection of 2026 wall calendars. Choose from a wide variety of artists and styles for your home or office.

 18-Mar
  17-Mar
  16-Mar
  15-Mar
  Abstract
  Animals
  Architecture
  Book Illustration
  Children
  Corporate
  Design/Layout
  Editorial
  Fantasy/Mythical
  Fashion/Beauty
  Florals
  Food/Beverage
  Historical/Patriotic
  Holidays/Seasonal
  Humorous/Comic
  Landscape/Outdoor
  Lettering
  Medical
  Movies/Music/TV
  Mystical/New Age
  Nature/Wildlife
  Other/Misc.
  People/Portrait
  Places/Events
  Religious
  Sci-Fi/Fantasy
  Sci-Fi/Space
  Science/Technology
  Sports/Recreation
  Still Life
  Transportation
  Underwater/Sea Life
  World Culture
 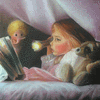 Youth
Youth  Acrylic
  Airbrush
  Charcoal
 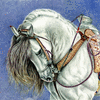 Colored Pencil
 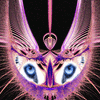 Computer/Digital
  Etching/Engraving
  Felt Tip
 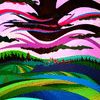 Gouache
  Hand Made/Stitched
  Ink
Ink  Metal Sculpture
  Mixed Media
  Oil
Oil  Oil Pastel
  Other/Misc.
  Paint
Paint  Paper Art
 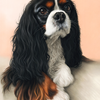 Pastel
 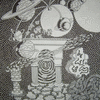 Pen & Ink
 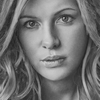 Pencil
  Photograph
  Scratch Board
 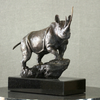 Sculpture/Ceramic
  Spray Paint
  Stained Glass
  Tempera
  Watercolor
  Wood Sculpture
  3D Rendering
  Anime/Manga
  Art/Drawing Misc.
  Cartoon/Comics
  Design/Interactive
  Digital Painting
  Fine Art
  Illustration