Profile
Portfolio
Slideshow
Bio
Contact
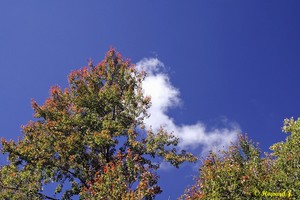
Soar Like An Eagle
Added: 15 Oct 2006
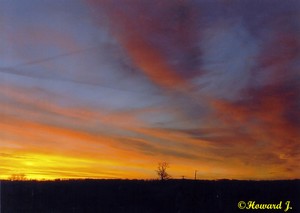
Heaven's Gate
Added: 14 Oct 2006
Lovely Lillies
Added: 30 Sep 2006
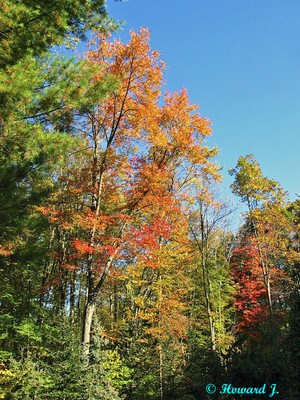
Colours Of The Season
Dew
Added: 23 Sep 2006
Tapestry
Added: 21 Sep 2006
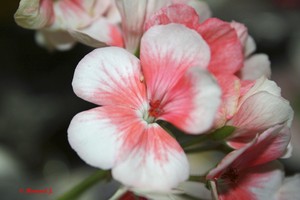
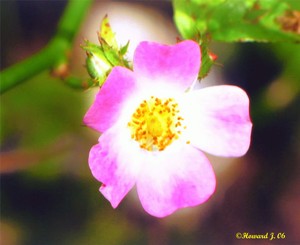
Lovely Petals
Added: 19 Sep 2006
Mums The Word!!!
Motion
Added: 16 Sep 2006
Texture
Wild Flowers
Added: 13 Sep 2006
Falls
Added: 12 Sep 2006
Sun Set
Added: 10 Sep 2006
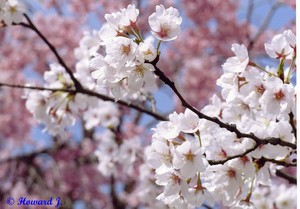
Cherry Blossom's
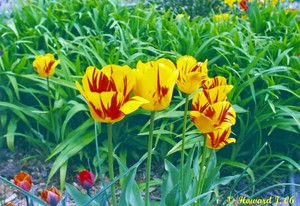
Yellow
Added: 09 Sep 2006
All Lined Up
Added: 08 Sep 2006
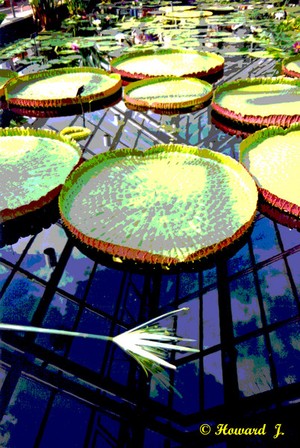
Lily Pad
Added: 06 Sep 2006
Swirls!!!
Added: 06 Aug 2006
Japanese Garden
Lighthouse
Added: 01 Aug 2006
On The Beach
Added: 31 Jul 2006
Red
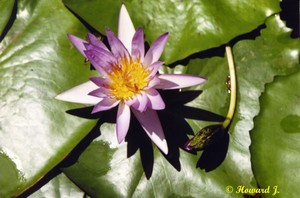
Water Lily
Added: 30 Jul 2006
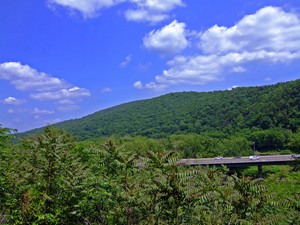
Field Of Dreams
Added: 23 Jul 2006
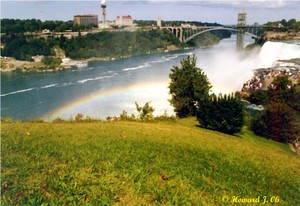
Over The Rainbow
Contrast
Added: 18 Jul 2006
Delicate
Added: 15 Jul 2006
Trio
3 D
Hello
Added: 13 Jul 2006
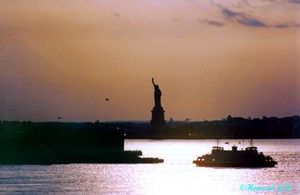
Lady Liberty
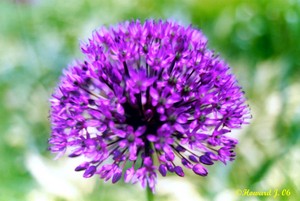
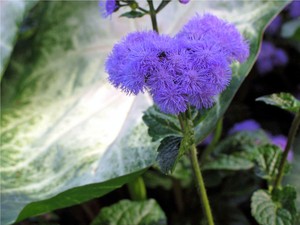
Purple Haze
Fire !!!
Added: 12 Jul 2006
Wing and a Prayer
Simply Cut!!!
Dots
Good Morning
Harmony
Added: 09 Jul 2006
Reflection
The Artist
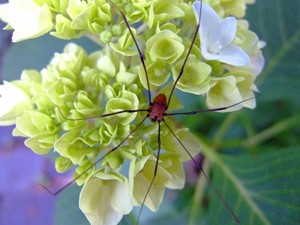
The Spider
Added: 08 Jul 2006
PPPerfect!!!
Solitude
We Remember
Added: 06 Jul 2006
Defies Gravity
Perfection!
Living Color
Added: 05 Jul 2006
Different Stages of Growth
Added: 04 Jul 2006
Purple Passion
Breath Taking