Profile
Portfolio
Slideshow
Bio
Contact
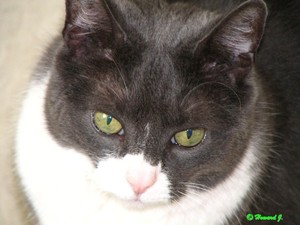
My Name Is Woody.
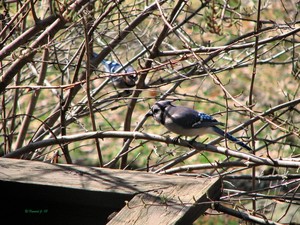
Added: 10 May 2008
Look At My Pretty Eye's
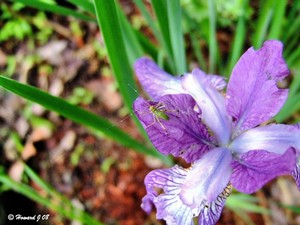
Spring Has Sprung
Added: 19 Apr 2008
Spring Is Here
Added: 18 Apr 2008
A Real Cat Nap
Added: 06 Apr 2008
Peek A Boo
Added: 05 Apr 2008
Wish I Could Hide
Added: 31 Mar 2008
The Visitor
Added: 30 Mar 2008
Brooklyn Bridge
Added: 29 Mar 2008
Inner Work's
Look Into My Eye's
Fall 2007
Added: 21 Oct 2007
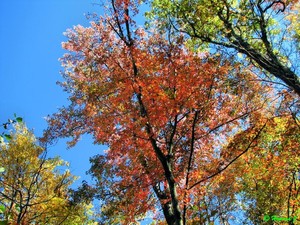
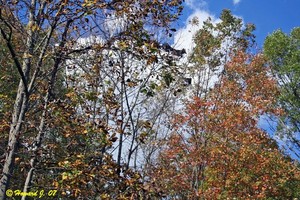
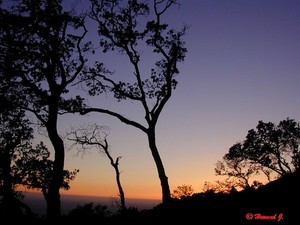
Change Of Season's
Added: 10 Oct 2007
Beginning Of Fall
Added: 07 Oct 2007
Hello My Name Is Boots
Added: 09 Aug 2007
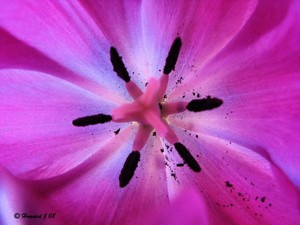
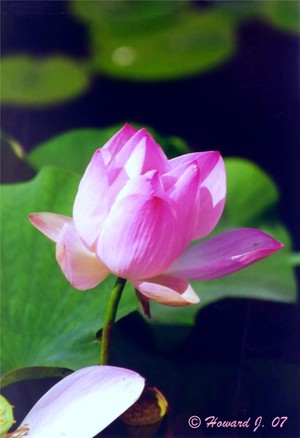
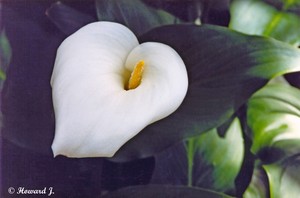
Perfect Petals
Added: 04 Aug 2007
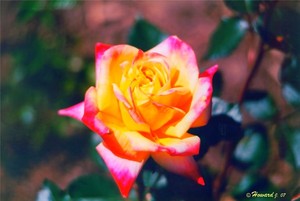
The Rose
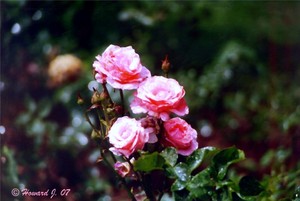
Four Rose's
Added: 03 Aug 2007
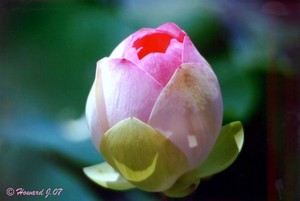
This Bud Is For You
Ready To Awaken
Added: 14 Jul 2007
Flock Of Seagulls
Added: 12 Apr 2007
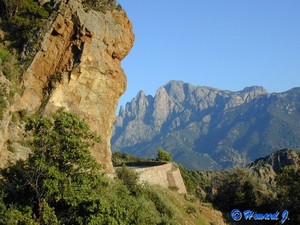
Cliffs Of Corsica
Added: 08 Apr 2007
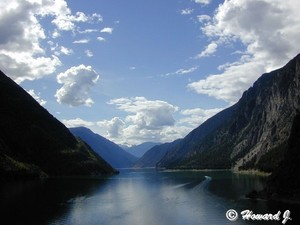
Lake Moraine
British Columbia
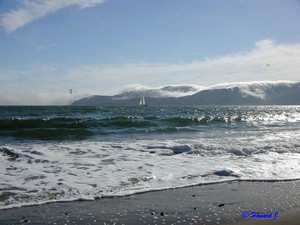
Angel Island
Added: 07 Apr 2007
Carmel
Rascal
Added: 01 Apr 2007
Night View
Auburn
Wise Guys
Added: 25 Mar 2007
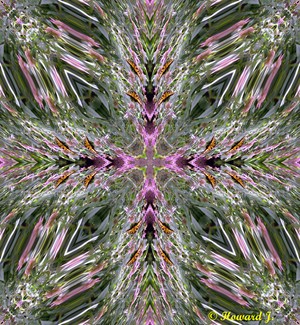
Metamorphosis
Eyes On You
Added: 22 Mar 2007
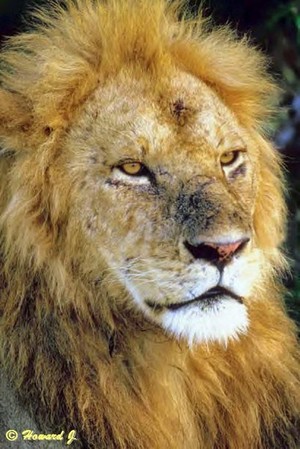
The King
Added: 21 Mar 2007
Is It Spring Yet ?
Added: 20 Mar 2007
My Backyard
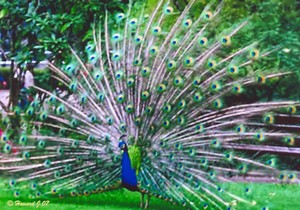
Spread Your Wings
Added: 08 Mar 2007
Anyone Hungry
My Cat Boots
Added: 06 Mar 2007
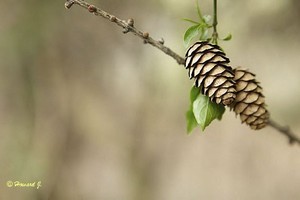
Pine Cones
Still
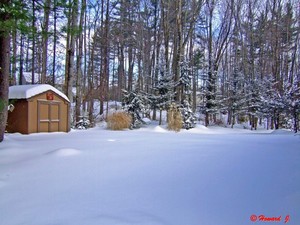
Added: 04 Mar 2007
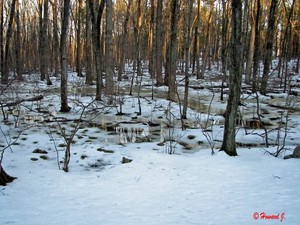
Winter Woods
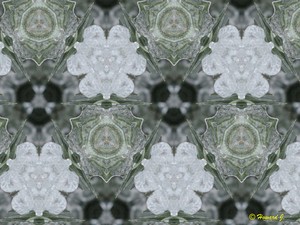
Ice
Added: 04 Feb 2007
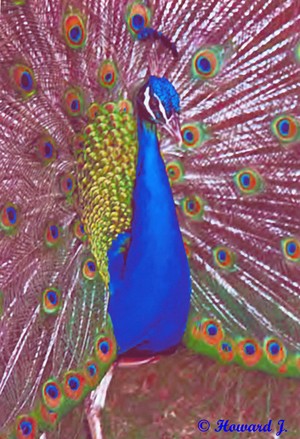
Peacock
Added: 26 Nov 2006
Babe's In The Woods
Heat
Added: 12 Nov 2006
Butterfly
Double The Pleasure
Added: 16 Oct 2006
Natures Best
Solo
Added: 15 Oct 2006
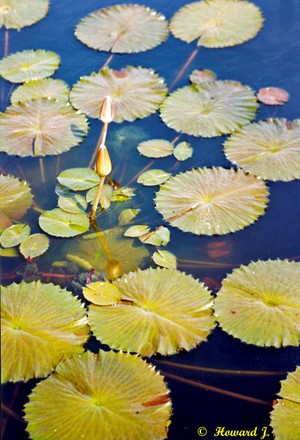
Frog Heaven